Using Mobile Security Framework (MobSF) to map Android application traffic into Burp Suite.
What do I get.
- Automatic SSL unpinning.
- Mobile application traffic sent to Burp Suite.
- Many other dynamic analysis features.
Setup
Follow the requirements documentation and the installation documentation.
I had several problems getting an android VM to correctly run on Ubuntu with a Nvidia based graphics card. On top of this there seems to be a bug in mitmproxy which is a transative dependency of MobSF.
If you run into the same problems the below two commands may help you. You will need to create a Pixel 6 android device via Android Studio.
Launch emulator with writable file system.
emulator -avd Pixel_6_API_28 -gpu swiftshader_indirect -writable-system -no-snapshot-load
requirements.txt
Override the version of mitmproxy pulled in by MobSF to the below version if you are having issues replaying traffic. The bug I am referring to is https://github.com/mitmproxy/mitmproxy/issues/5241
mitmproxy==7.0.4
Getting traffic into Burp Suite.
Assumptions.
- You have open GApps installed on your emulator.
- You have the APK you want to test installed on your emulator.
- You have already done a static analysis of the app in MobSF.
Open Burp Suite and go to the proxy tab. Configure the proxy settings to have a second proxy listener on localhost on port 9090.
Go the HTTP History sub tab under the Proxy tab in Burp Suite.
Launch your emulator and then launch MobSF.
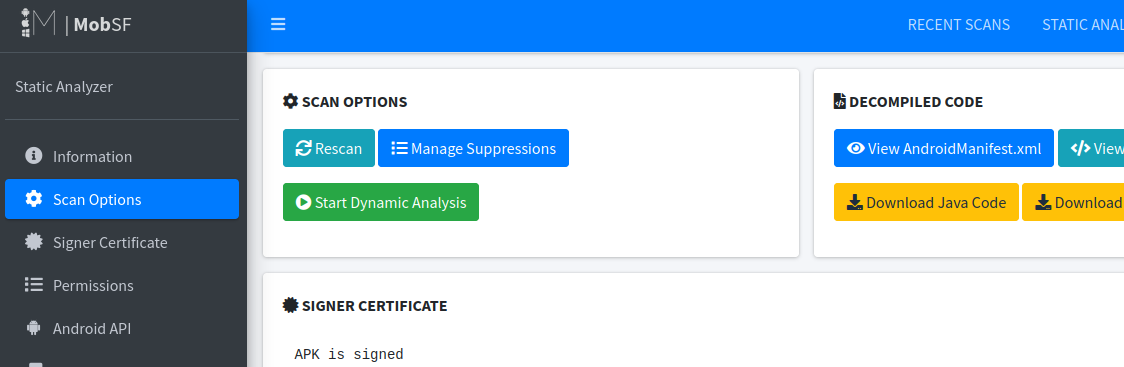
In the MobSF UI located at http://127.0.0.1:8000/recent_scans/ go to the static report of the APK you want to test. In my case I am testing com.instacart.client as part of their bug bounty program.
Start a dynamic analysis.
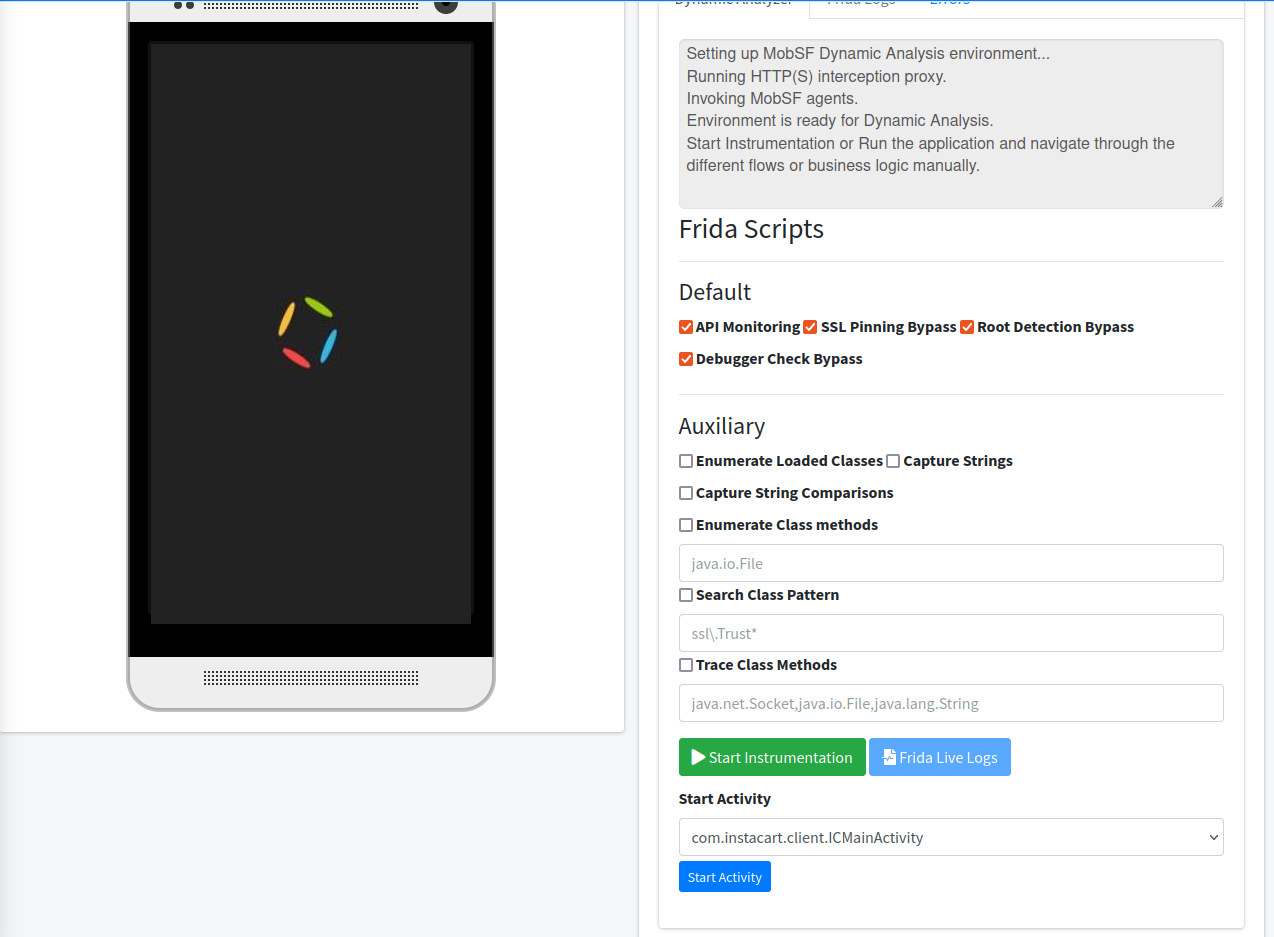
This will bring you to a dynamic analysis page where you can inject frida scripts among other things. What we want to do is launch the main activity of the APK.
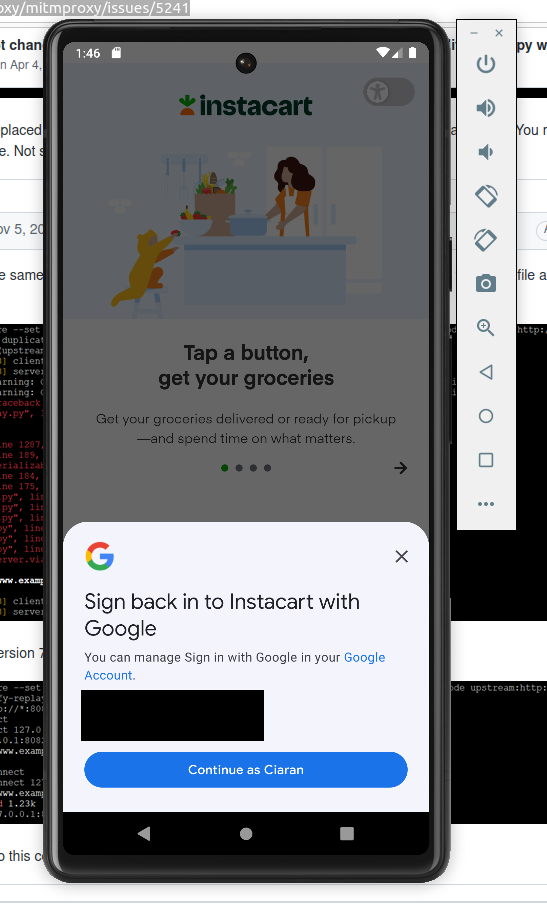
Launch the app, sign in as normal and test all of the features you want to test. Click around essentially to see the features of the app.
In the MobSF dynamic analysis UI hit the “Generate report” option to end the analysis.
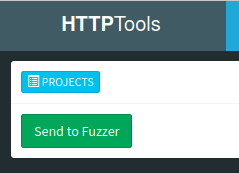
On the report page click on “Start HTTPTools.”

Click on “Send to Fuzzer.” and change the destination port to 9090. Repeat the traffic.
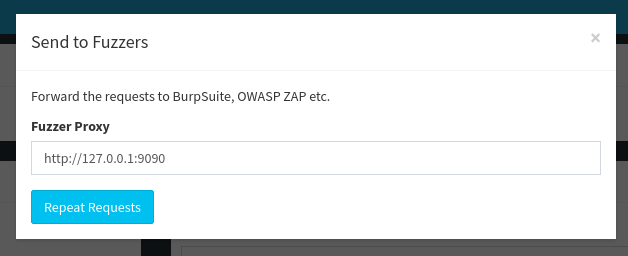
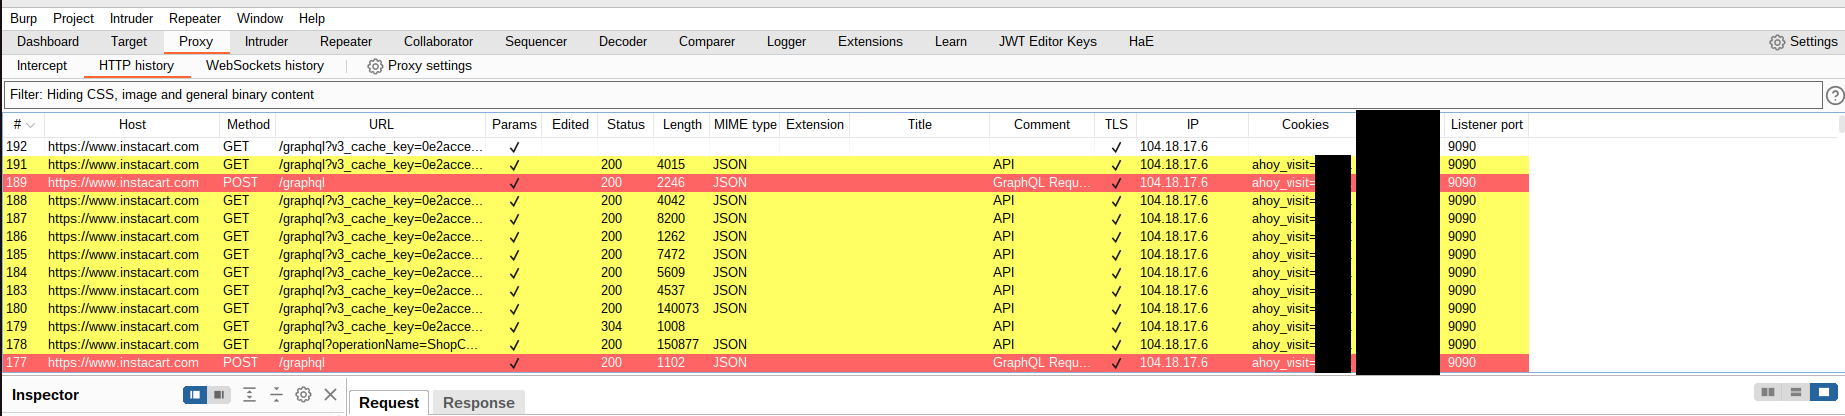
Go to Burp Suites proxy history tab and you will see the requests starting to flow in.